Hexo搭建个人博客其一
本文最后更新于 3 天前
初始化Hexo博客
前言
前两天用Hexo搭建了这个博客,在此记录一下搭建流程以及遇到的问题,希望能帮到有意向搭建博客的同学们!
在此之前呢,你至少要知道一些最基本的git命令,因为我是使用github仓库做存储,如果说你你不用github等git产品做存储那么git命令就不是必须的了。
一、用到的工具
- 静态网站生成器: Hexo
- 主题: hexo-fluid
- 托管平台: Netlify
- CDN: Cloudflare(可选)
- Hexo后台插件: HexoNetlifyCMS(可选)
- 评论插件: Giscus(可选)
二、基本步骤
1. 按照hexo官网安装hexo-cli,并初始化hexo项目
- 安装Nodejs和Git,Mac推荐使用 Homebrew 安装。
brew install node
brew install git # 如果已经使用 Xcode 创建过项目,应该已经安装了- 安装 Hexo。
npm install -g hexo-cli- 初始化hexo。
hexo init <folder>
cd <folder>
npm install2. 安装插件、主题
- 安装Fluid主题。
Hexo 5.0.0 版本以上,推荐通过 npm 直接安装。
npm install --save hexo-theme-fluid- 安装HexoNetlifyCMS。
npm i hexo-netlify-cms- 为你的repo安装Giscus。
- 你可以直接安装在你博客的repo。

- 按照Giscus官网说明进行配置即可。
- 记录最后生成的配置。

3. 配置主题、CMS、以及评论插件
配置Fluid主题
- 在项目根目录新建主题配置文件(
_config.fluid.yml)。

- 简单的做一下配置(具体配置请参考Fluid官方文档)。
# 用于浏览器标签的图标
# Icon for browser tab
favicon: /images/Cypress.svg
# 用于苹果设备的图标
# Icon for Apple touch
apple_touch_icon: /images/Cypress.svg
# 首页副标题的独立设置(首页一言,可选)
# Independent config of home page subtitle
slogan:
enable: true
text: ""
api:
enable: true
url: "https://v1.hitokoto.cn/?c=a&c=c&c=d&c=i"
method: "GET"
headers: {}
keys: ["hitokoto"]配置Hexo-Netlify-Cms
配置 Hexo-Netlify-Cms(懒得写了,看官网吧^-^)。
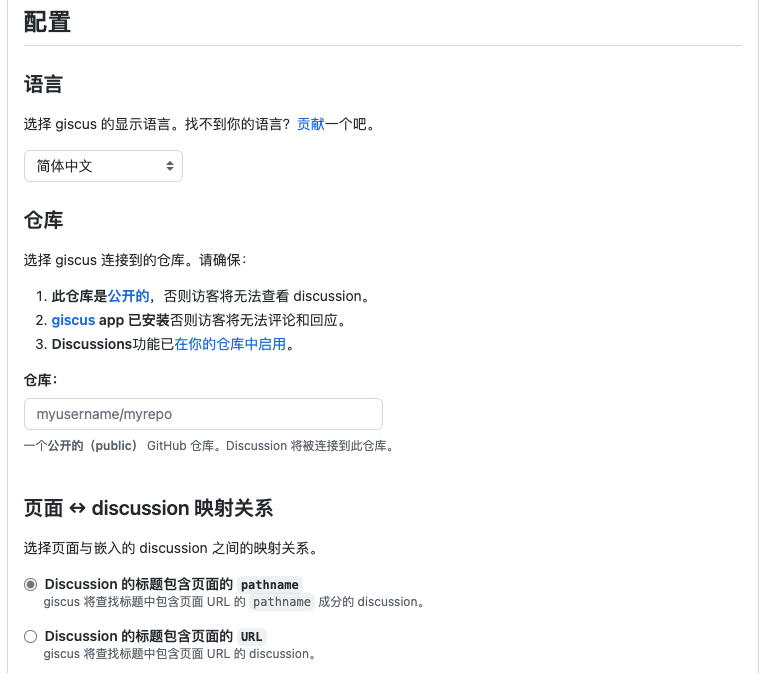
配置Giscus
Fluid集成的几个插件我都尝试过,基于LeanCloud的两款插件都无法使用了貌似,原因如图(甚至我注销账号都能失败,服~~)。

然后剩下的只测试了开源的基于Github Discussions 的评论插件和Disqus,其中Giscus不开科学上网加载速度是最快的(仅本人测试结果)。虽说Disqus开启Disqusjs理论上可以在境内访问,但测试几次根本不行,所以最终选择了Giscus。
- Fluid主题已集成Giscus等评论插件,只需要填入配置即可。
- 将刚才记录的Giscus配置填入相应的位置。
# 开启评论插件
comments:
enable: true
# 指定的插件,需要同时设置对应插件的必要参数
# Options: utterances | disqus | giscus
type: giscus
# 基于 GitHub Discussions,类似于 Utterances
# Based on GitHub Discussions, similar to Utterances
giscus:
repo: xxxxxxxx
repo-id: xxxxxxxx
category: General
category-id: xxxxxxx
theme-light: light
theme-dark: dark
mapping: pathname
reactions-enabled: 1
emit-metadata: 0
input-position: top
lang: zh-CN一些基本的配置到这里就算完成了,我的博客管理整体思路是这样的:

现在要做的就是将我们配置好的项目push到Github上面。
4. 创建github仓库并push代码到仓库中
- 创建github仓库,如果要在此仓库开启评论插件记得选择Public。

- Push代码到github。
cd /path/to/hexorootpath
git add .
git commit -m "Init..."
git remote add origin https://github.com/你的github账户/你创建的repo名字.git
git push origin main这样就可以在仓库中看到刚刚配置好的hexo博客项目了!

下一篇将讲解如何利用netlify进行博客的托管!
Hexo搭建个人博客其一
https://blog.cypresses.cc/64e2e0e2/
0/500
- OωO
- |´・ω・)ノ
- ヾ(≧∇≦*)ゝ
- (☆ω☆)
- (╯‵□′)╯︵┴─┴
-  ̄﹃ ̄
- (/ω\)
- ∠( ᐛ 」∠)_
- (๑•̀ㅁ•́ฅ)
- →_→
- ୧(๑•̀⌄•́๑)૭
- ٩(ˊᗜˋ*)و
- (ノ°ο°)ノ
- (´இ皿இ`)
- ⌇●﹏●⌇
- (ฅ´ω`ฅ)
- (╯°A°)╯︵○○○
- φ( ̄∇ ̄o)
- ヾ(´・ ・`。)ノ"
- ( ง ᵒ̌皿ᵒ̌)ง⁼³₌₃
- (ó﹏ò。)
- Σ(っ °Д °;)っ
- ( ,,´・ω・)ノ"(´っω・`。)
- ╮(╯▽╰)╭
- o(*////▽////*)q
- >﹏<
- ( ๑´•ω•) "(ㆆᴗㆆ)
- 😂
- 😀
- 😅
- 😊
- 🙂
- 🙃
- 😌
- 😍
- 😘
- 😜
- 😝
- 😏
- 😒
- 🙄
- 😳
- 😡
- 😔
- 😫
- 😱
- 😭
- 💩
- 👻
- 🙌
- 🖕
- 👍
- 👫
- 👬
- 👭
- 🌚
- 🌝
- 🙈
- 💊
- 😶
- 🙏
- 🍦
- 🍉
- 😣


No comment
Twikoo Management Panel